Saturday, 10 December 2011

Texturing My Headhunter Part 6 - WindShield


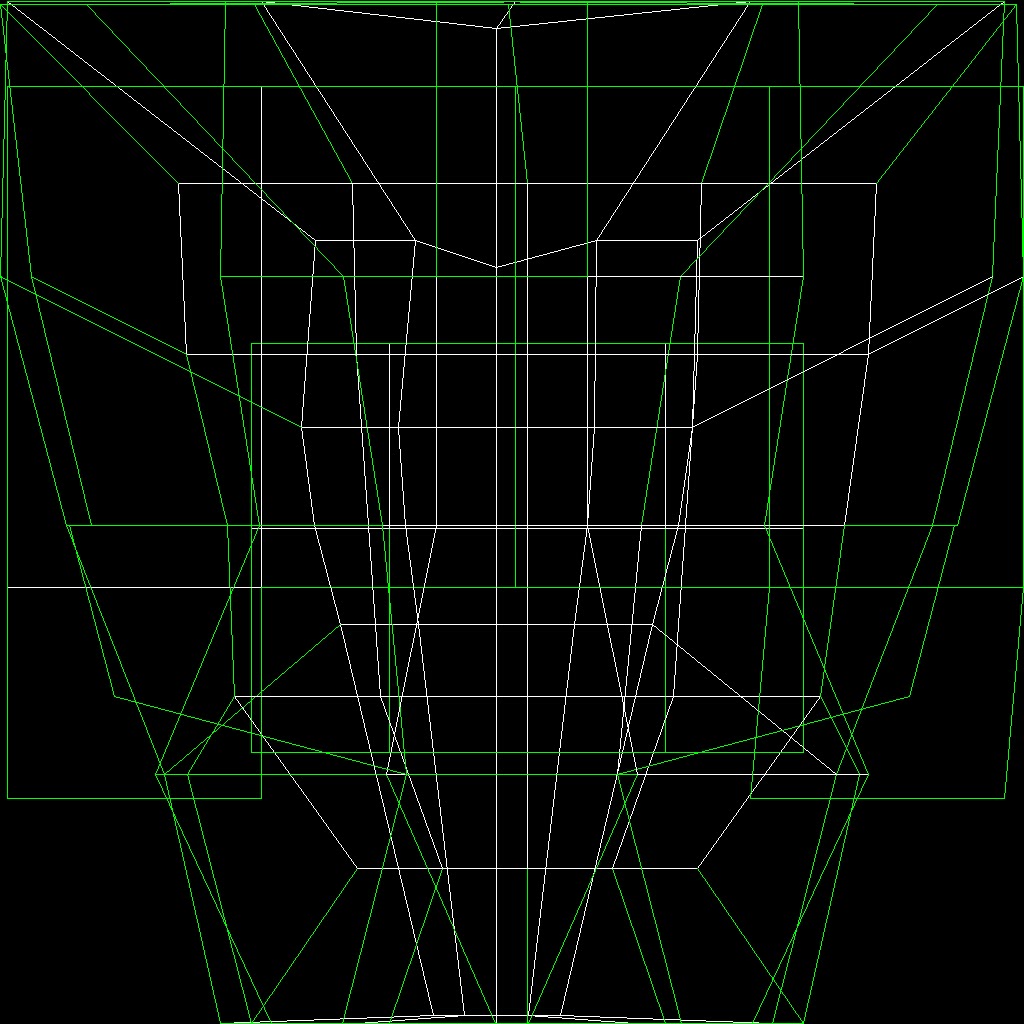
Once I'd imported the Wind shield cylinder UV into Photoshop, I imported the metal texture too.

I then just created one large black box across the image, on the top half. This bit was to create the windshield. I left a slight bit of space either side of the box so that there was a line down the middle of the window, to create a split screen. I didn't want to add any detail to this section of the ship as it wasn't necessary as all I wanted was to show the window.

Here is what the final texture looks like:


Here is what the texture looks like on the model:


Texturing My Headhunter Part 5 - Smaller Engine Cylinders


Once I'd imported the engine cylinder UV into Photoshop, I then added the metal texture to it so that it matched the rest of the ship.

I then drew a very thin black box that stretched across the very top of the image. This made the front tip of the cylinder black as I didn't want to use the metal texture here, and thought the black would distinguish it more and draw more emphasis to the hole I'd created at the front of the cylinder.

After this, I drew another thin box across the bottom of the image and filled it a bright red colour. I created a slightly thicker line directly above it and made it black. This made the very back tip of the cylinder bright red, which I thought was appropriate as they should have some kind of flame coming out of them to make that would cause them to become hot and burn red slightly. I made the next line black too simulate a kind of blackened ash effect on the metal.

On my cylinder there is a part which is indented slightly which I wanted to draw attention to and make it different to the rest of the cylinder. Because of this, I decided to draw a thick black box across the lower top half of the image, where the indent was. I made sure it was wide enough to fully cover the area of the indent. I then wanted to add a little more detail to draw even more attention and to get more of a mechanical feel again. I did this by creating reasonably thin grey boxes within the black box, that were positioned vertically. I made sure they were positioned equally apart too. 

Now that I had textured the indented part of the cylinder completely, I wanted to texture the remaining front half of it as I didn't want to leave it empty with just the metal texture. Because of this, I went on to create six quite thick, vertical black boxes along the very top half of the image that was empty. I made sure they were positioned fairly evenly. I then went on to use the 'Box' tool again to create various lines  and small boxes in the spaces between the large black boxes I'd made. I made this detail random as I didn't want it to look too structured. 

On the remaining bottom half of the image, for the back half of the cylinder, I wanted to add some different detail of some kind so that it wasn't similar to the detail at the front. I eventually decided that I would completely fill the area with varying vertical lines. I still decided to keep using the 'Box' tool to do this as it gave me more freedom as to the width I wanted the lines, rather than having to keep adjusting the width at the top with the 'Line' tool. I went on to draw vertical lines across the image, making sure the lines were different from each other by making some thinner than others and longer etc. 

Firstly, I drew a thin black box at the very top of the image. 


Here is what the texture looks like on the ship:


Texturing My Headhunter Part 4 - Engine


Once I'd imported the Engine UV into Photoshop, I added the metal texture on to it. 

Firstly, I selected the 'Box' tool and created a thin black box at the very top, that stretched across the image. This would be the part of the engine that connects onto the body of the ship so I wanted to make the join stand out slightly to emphasise the different parts.

Just underneath I drew another thin box, only this time I filled it with a light grey colour to show some contrast. I then created another box underneath, but made it slightly thicker this time and filled it with a bright red. This created a vibrant strip round the engine and really highlighted this part of the ship to make it stand out. 

On the bottom of the image, I created another box that stretched across the image which I made a dark grey colour. I then made another box that was thinner and black. This made a strip at the back of the engine. I wanted to add more detail to this so it looked like it had strips of metal and detail going around it. I simply did this by getting the 'Line' tool, making sure it was quite thin, and then drawing small lines vertically within the black line. I did this a couple of times before merging the layers and then copying and pasting them and so on, several times until the entire black box was filled evenly. 

After this, I went on to create two thin boxes across the image horizontally, that were above the two bottom boxes. I made one line black and the one above a brightish red colour, just to add a little more detail. 

The last thing I went on to create was some vertical boxes either side of the image, that would stretch along the cylinder to add to the mechanical feel. I did this by getting the 'Box' tool and selecting a dark grey colour.  I then positioned the box evenly in the middle of the open space, on the left hand side. I copied and pasted this two times so that I had three boxes spaces evenly on the left side. 

I went on to add some detail to the boxes. On the one closest to the edge, I created four thin, light grey lines using the 'Line' tool; two at the top and two at the bottom. For the other two boxes, I drew A smaller, light grey box within them. I then merged all the layers together into one and copied and pasted it in order to create the right hand side. Once pasted, I rotated the layer using the option 'Transform - Rotate' from the top menu, and rotated it 180 degrees. I made sure to position the layer as far right as possible so that it matched and was aligned to the other side. 

Here is what the final texture looks like:


Here is what the texture looks like on the model:


Texturing My Headhunter Part 3 - Nose


Once I'd imported the nose UV into Photoshop, I again added the metal texture so that it matched. 

I didn't want to add much detail at all to the nose because I felt it wasn't really necessary on such a small section of the model. Because of this I simply added two boxes at two ends of the image.

At the top, I created a thick box that stretched across the image. I filled this quite a darkish shade of red that stood out. This would be for the very tip of the nose. I felt that this colour made it look more deadly and fierce, being on such a pointed edge. 

At the bottom, I created another box which wasn't quite as thick as the previous one. I filled this one black because I wanted the join between the body and the nose to stand out, so making it a different colour would do this yet it still suited the model as I'd used black lines on the front body. 

Here is what the final texture looks like:


Here is what the texture looks like on the model:


Texturing My Headhunter Part 2 - Body


Once I had imported the body UV map into Photoshop, I decided to import the image file of the wing texture I had created previously to overlay on the body map. I did this because I wanted to use the same basic texture which I had used for the wings to make sure that they matched. I was going to use the same texture on all parts of my ship so that they would all be even, only adding different detail to each section. 

Now that I had the basic texture for the body, I selected the 'Box' tool from the left panel and drew a thick black box that stretched across part of the bottom image. I then drew a thinner box in the middle, which I made a vibrant red so that it stood out. I then merged these two boxes in Photoshop. This detail would be added to the to the front end of the body, towards the nose. 

Just above the previous boxes, I decided to draw another black box that stretched across the image, making sure it was slightly thicker than the first. I then selected the 'Line' tool and adjusted it's thickness so that it was quite thick. I chose a dark grey colour, and drew across the box. I copied and pasted this line two times, so that I had three lines in total, and positioned them so they were equally spaced within the box. I then merged this layer to keep things organised. 

I felt that I now had enough detail down the front end of the body as I didn't want to risk adding too much and over doing things. Also, I didn't want to add too much detail towards the back half of the body either because I felt that by the time everything else had been textured on the ship, there would already be enough detail on. Because of this, I decided just to add a few vertical lines to the texture which would stretch along the body.

 I selected the 'Box' tool at first to create a small, not too thick box that went from the centre of the black box vertically upwards. I filled the box using the same red that I had used previously as I wanted to add just a little bit more colour to the texture to keep it interesting. I then copied and pasted this two times, so that I had three in total. 

Lastly, I created one much longer but thinner vertical line either side, that I made black. This was now all the detail I wanted to add because these lines would stretch across most of the body and would be sufficient.

Here is what the final texture looks like:


Here is what the texture looks like on the ship:


Texturing My Headhunter Part 1 - The Wings


Once I'd imported the Wing UV map into Photoshop, I made sure to import the metal texture I had previously found too.

I overlayed the image onto the UV map, on a new layer. I then played around with some of the effects in Photoshop as I ideally wanted the texture to be more of a greyish colour, rather than a slight brown. To do this, I adjusted the 'saturation' of the image and played around with the 'contrast' and the tonal shades within it, until I'd reached my desired colour. 

Here is how the final texture looked:


I decided not to add anymore detail to the wings other than the texture, as I wanted to keep this part of the ship quite plain because wings don't usually tend to have much detail on them in comparison to the rest of the ship. 

Here is what the model looked like with the texture on:


Metal Texture For Headhunter

For my next model, I wanted to find a metal texture that I could use. I searched Google, to find 'rough metal textures' as I wanted quite a worn metal that didn't look to new and smooth. 

I managed to come across this image, which I decided to use:


Accessed [06/12/2011]