I now wanted to texture the final part of my ship, the cylinder.
In 3dsMax, I added a 'UVW Map' from the Modifiers list to the cylinder to create a map of the object.

I then added an 'Unwrap UVW' from the Modifiers list to flatten the map out so I would be able to texture it.

On the Unwrap UVW panel, I clicked on the 'Open UV Editor'.

I was then able to render the UV map and save it ready to import into Photoshop to create my texture.
Here is what the rendered UV map looked like:
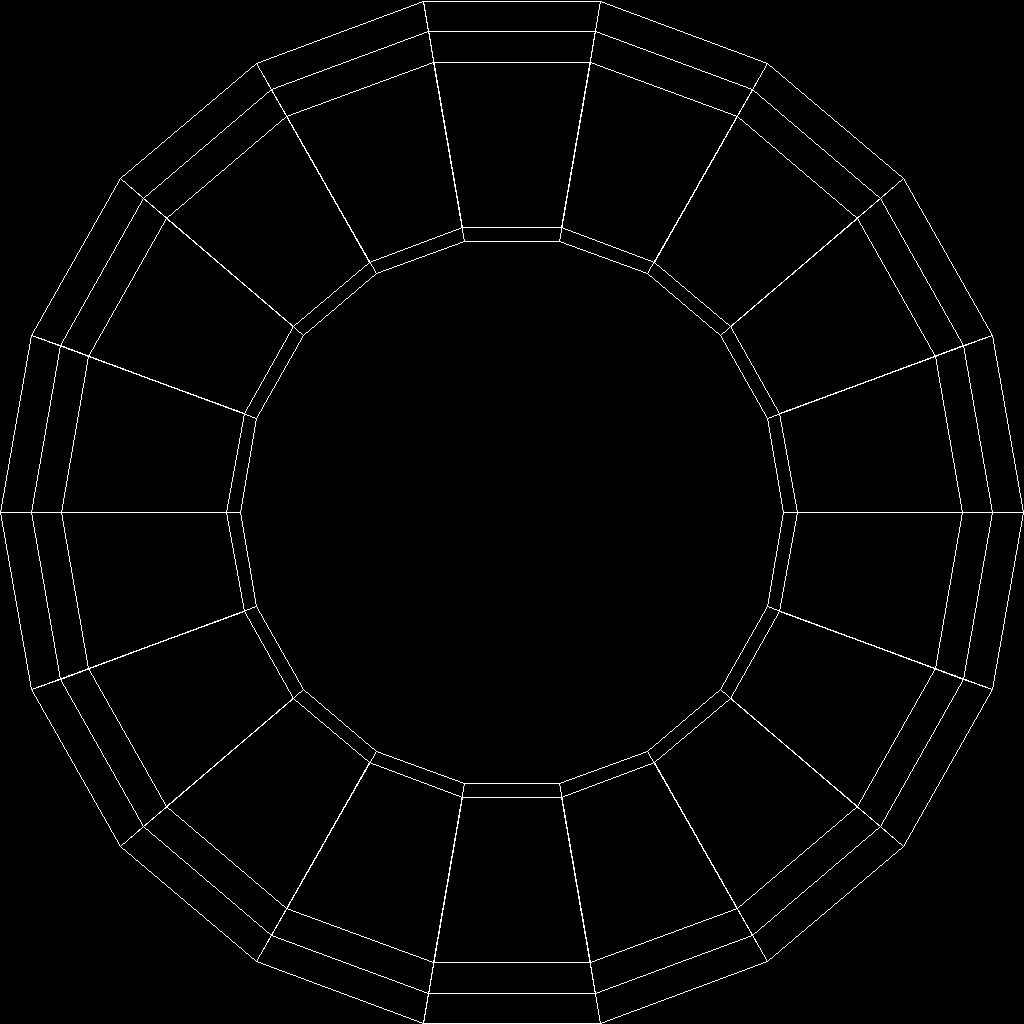
Once I'd imported the UV map into Photoshop, I started by filling the biggest centre circle in with a dark grey using the Fill tool. This part of the cylinder was mostly positioned within the sphere of the ship so only a small amount of it was on show.
For the next circle, I chose a light grey colour and filled most of the sections with this colour. For the remaining circles and each of their sections, I filled them with a slightly darker grey. This meant that most of the cylinder was filled in with this colour.
Now that most of the cylinder was filled in, I just wanted to add a bit of detail onto the circle with the biggest sections, which was the main part. I did this by using the Box tool and choosing a dark grey colour. In the top and bottom centre sections, I drew a horizontal box and then a vertical box coming out of it. For the vertical box, I drew a lighter grey line within it too.
For the various other sections, I drew a mixture of dark and light grey boxes. For some, I copied and pasted the box and positioned it to its opposite section and rotated it using the 'Transform' tool if needed.
Here is what the final texture looks like:

Now that the texture for my cylinder was complete, I went back into 3dsMax to load the image using the Material Editor.

Once I'd selected the image and applied the texture to the cylinder, here is what it finally looked like:

No comments:
Post a Comment