I now wanted to start texturing my volcano. To do this, I firstly had to apply a 'UVW Map' from the 'Modifier List' to the volcano.


I then had to add a 'UVW Unwrap' from the 'Modifier List'.

I needed to do this because the object is circular and not completely flat. Therefore, by doing this, it flattens out the object so I will be able to take the map into Photoshop for example and create my own texture, which I will be able to lay over the top of the volcano.

I then clicked on the 'Open UV Editor' option under the 'Edit UV's' section, to bring up a new window.

From the new window, I had to click the 'Tools' option from the top menu and then select 'Render UVW Template'.

A smaller window then popped up where I simply just clicked on the bottom option, 'Render UV Template'.
This then rendered my UV map, which looked like this:
I added a UVW Map to the volcano in order to create a map of the object so that I would eventually be able to texture it.

I then had to add a 'UVW Unwrap' from the 'Modifier List'.
I needed to do this because the object is circular and not completely flat. Therefore, by doing this, it flattens out the object so I will be able to take the map into Photoshop for example and create my own texture, which I will be able to lay over the top of the volcano.

I then clicked on the 'Open UV Editor' option under the 'Edit UV's' section, to bring up a new window.

From the new window, I had to click the 'Tools' option from the top menu and then select 'Render UVW Template'.
A smaller window then popped up where I simply just clicked on the bottom option, 'Render UV Template'.
This then rendered my UV map, which looked like this:

I was now able to save this image and then import it into Photoshop so I could begin creating my volcano texture.
To start with, I got the 'Brush tool' and set the brush size so that it wasn't too big and and had a faded edge, to give a softer edge feel. I then chose a semi light brown colour and coloured in the entire volcano area as this was going to be the main colour of the volcano.
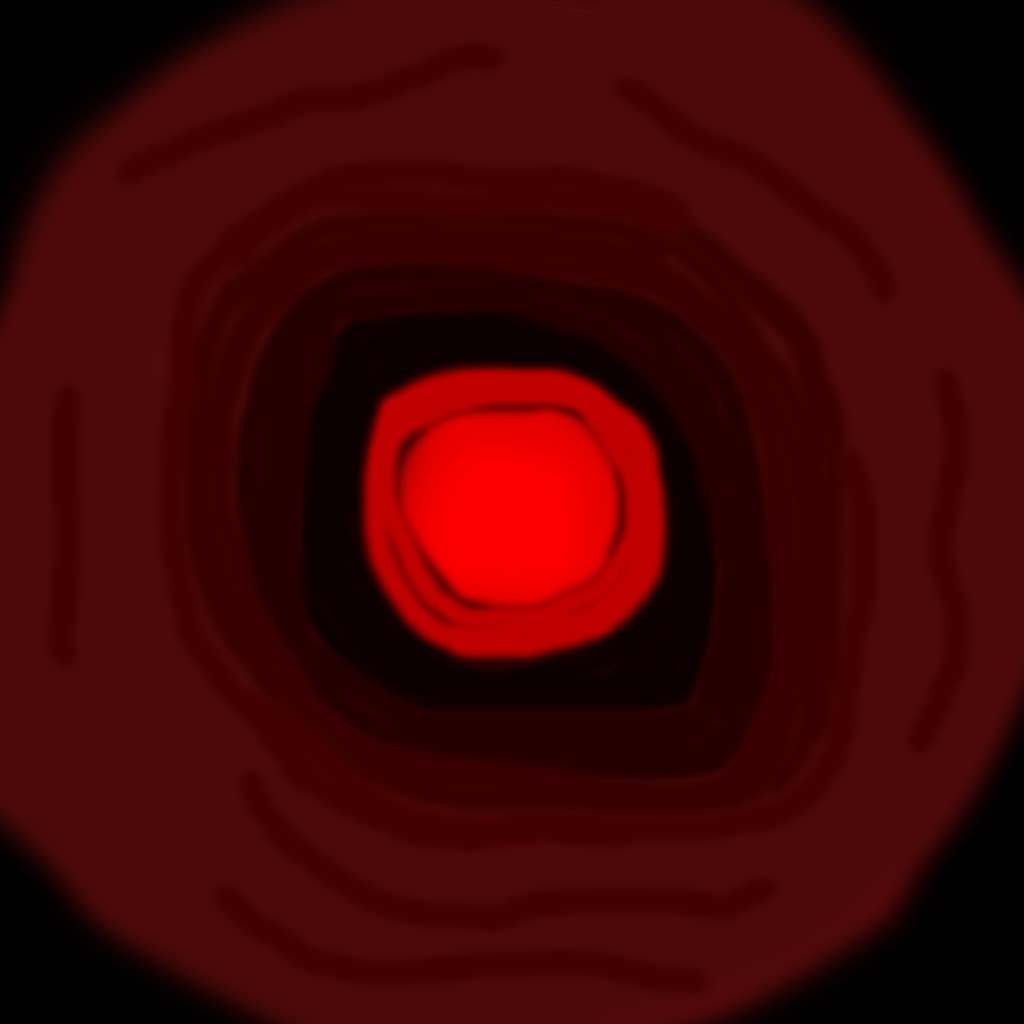
After this, I chose a really bright red colour for the inner part of the volcano, for the lava. I then went around it with a ever so slightly darker red, making sure to leave a slight gap between the two so you could see their edges, which looked like they were glowing slightly because of the faded brush edge I had used.
I then chose a really dark, almost black, brown colour. I then went around the red with this. I didn't worry about making it completely circular as I didn't want it to be perfect. Instead, I made more of an oval shape so that two edges were more pointed than the other two. This would add to the effect once it was placed on the volcano in 3dsMax.
For the next colour, I went for a slightly lighter shade of brown and coloured this the same way. I repeated this for one more lighter shade of brown too.
I didn't want to continue to add anymore coloured layers as I wanted to show some of the remaining brown I had started colouring the image with. However, I did add some small wavy lines around the the outer lighter brown brown area just to add more effect because I didn't want it to be left completely one colour.
Here is what the final coloured volcano image looks like:
Now that I had my volcano texture completed. I saved the image and opened up the 'Material Editor' window back in 3dsMax.

To import the texture, I clicked on the small grey box next to the 'Diffuse' option, selected 'Bitmap' and then chose the image file. I then clicked on the icon to apply the image to the volcano.

No comments:
Post a Comment